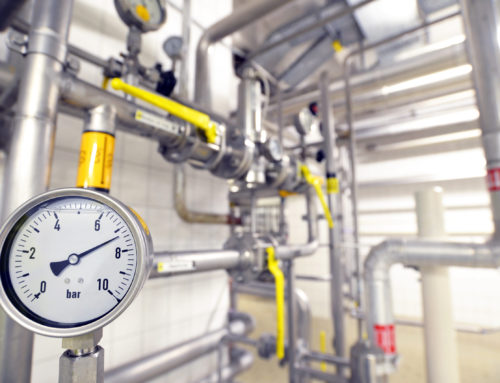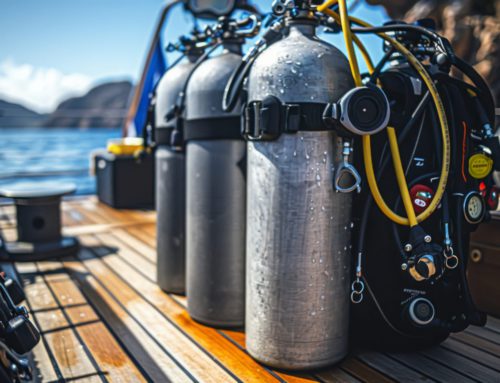
Compressed air has been referred to as the fourth utility and is a diverse tool that is used by many different types of manufacturers.
The use of compressed air is essential to many manufacturing processes which can include: controlling valves and cylinders, cutting products, mixing materials, opening packaging and moving goods.
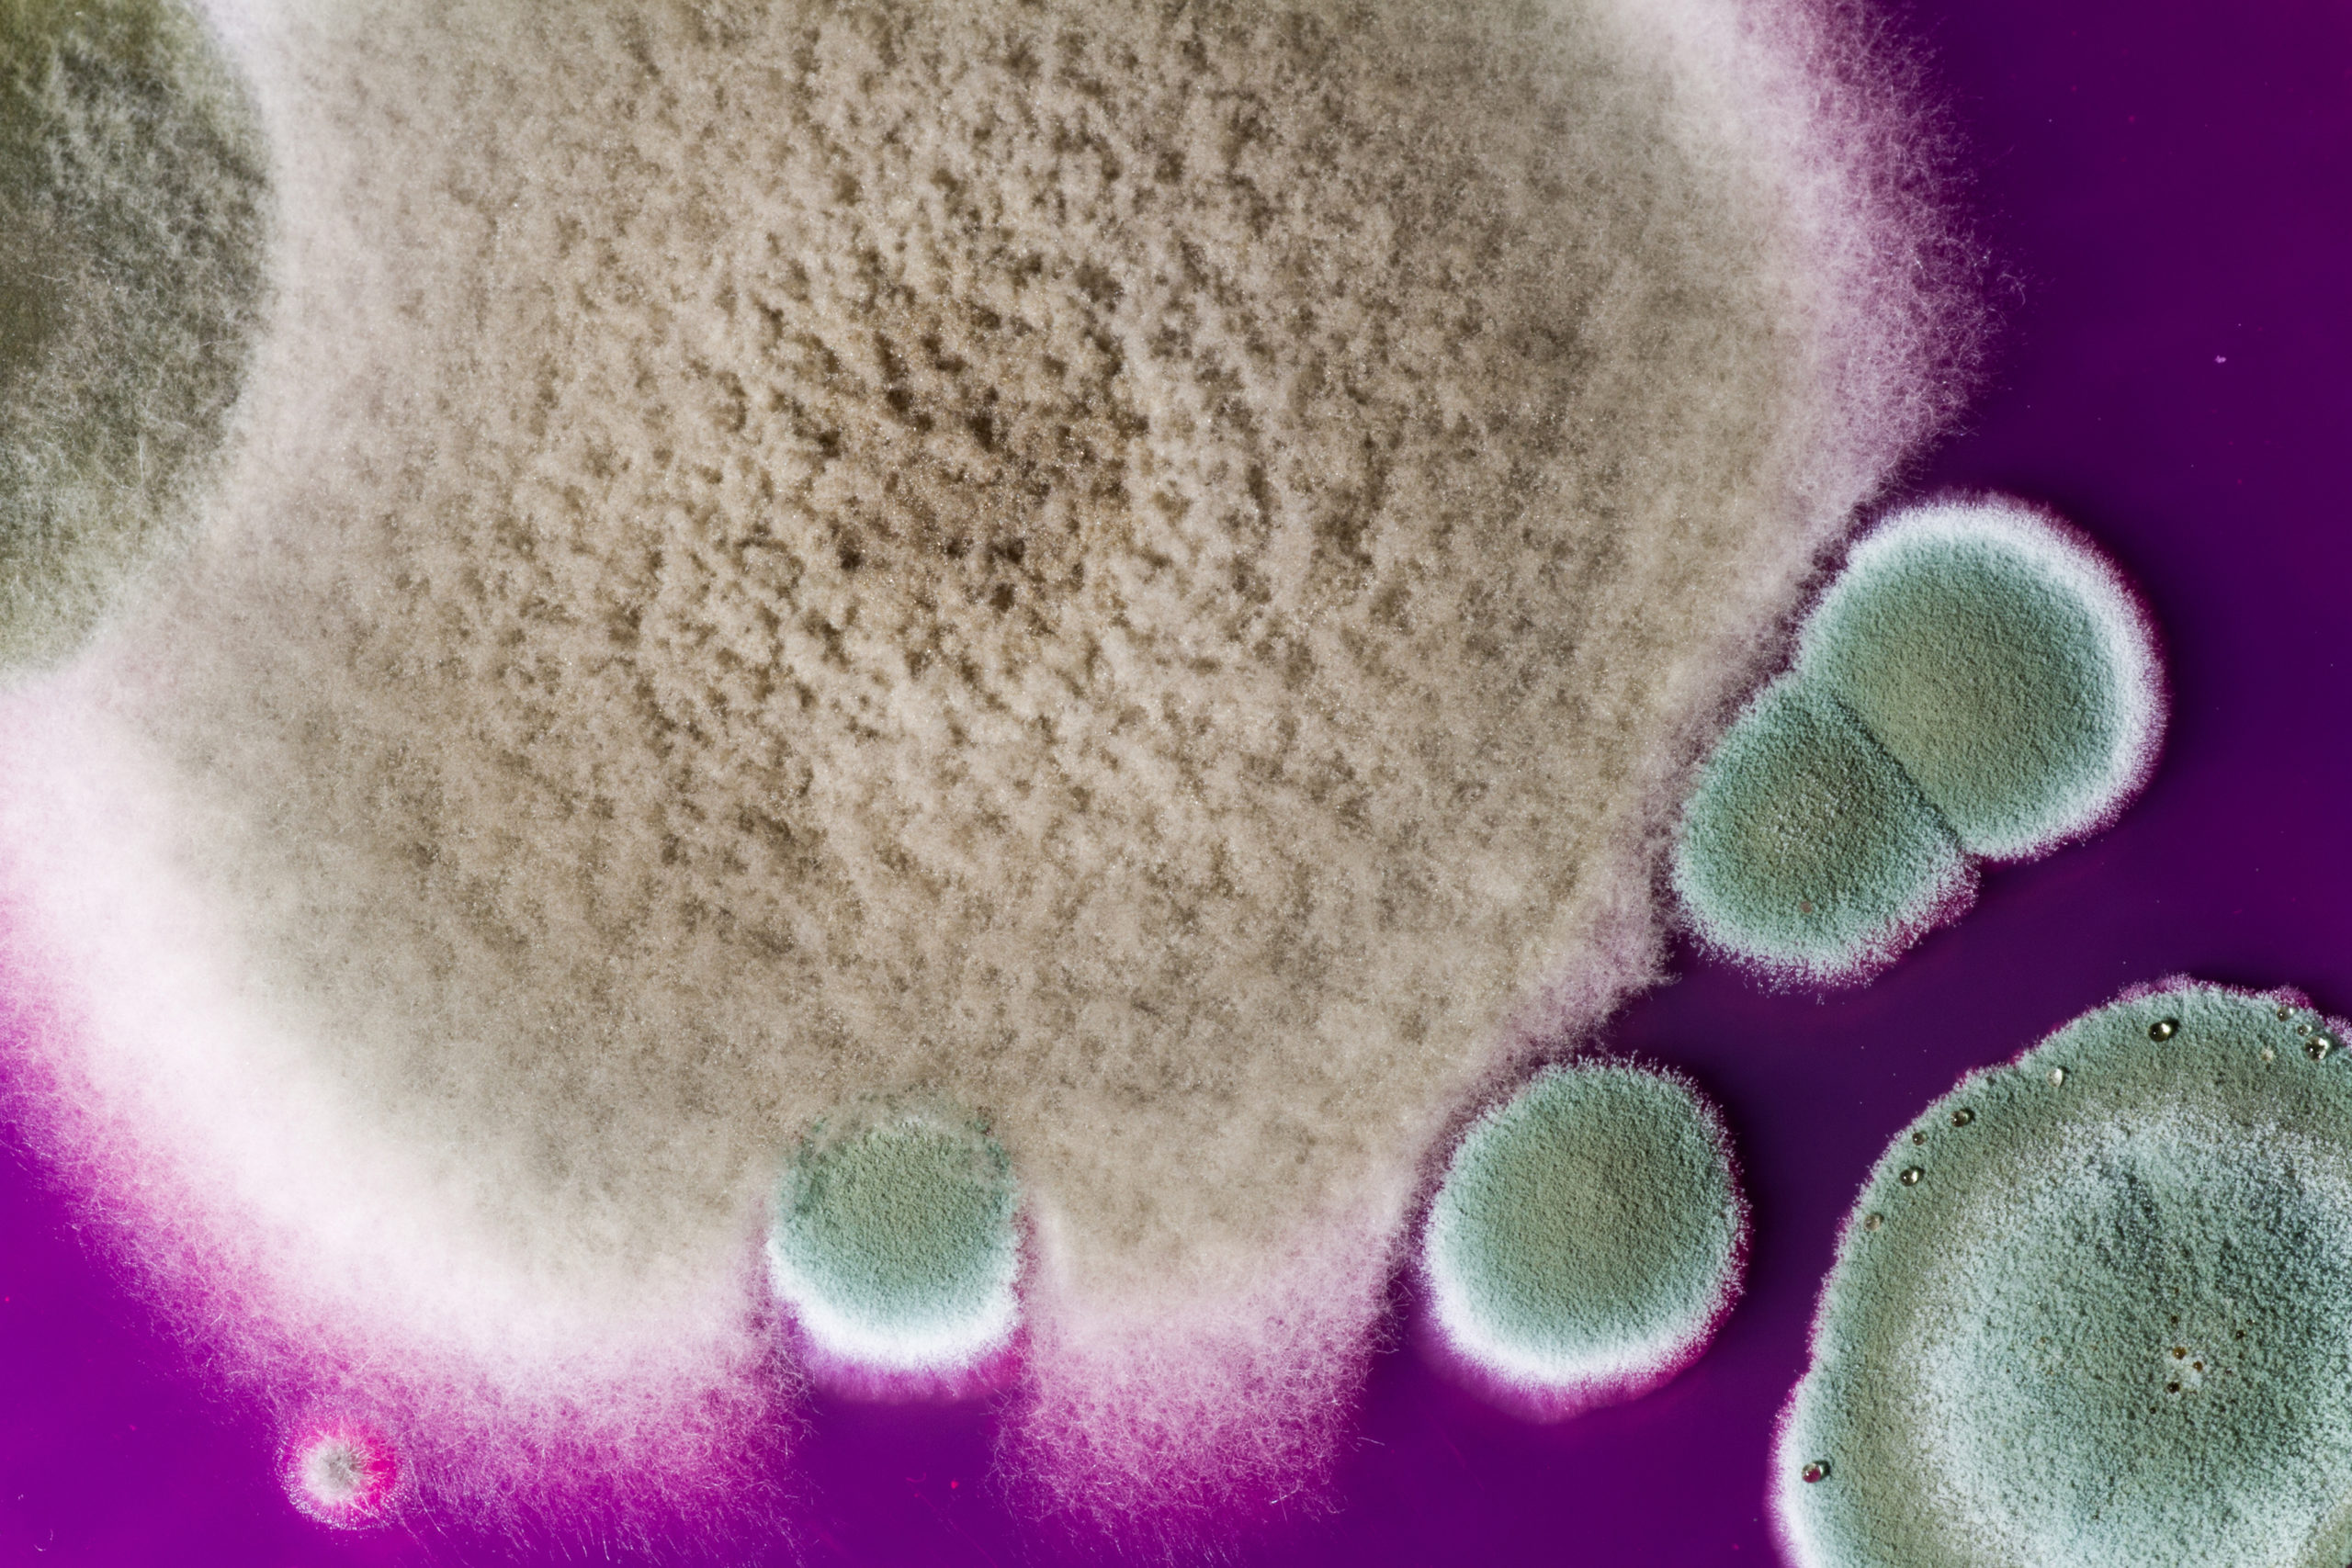
However, the humid environment of a compressed air system provides an opportune habitat for microorganisms like bacteria, yeasts, and molds to flourish. These microorganisms can create hazards for manufacturers resulting in product contamination, product recalls, loss of public confidence, and in extreme cases, facility closures and loss of revenue. To safeguard the quality of a product and to prevent product contamination, manufacturers need to implement a compressed air monitoring program.
If a facility is using compressed air or gas in their manufacturing process they should consider testing for microorganisms as a part of their compressed air monitoring plan. To see a microbial monitoring plan example as provided by the International Society of Pharmaceutical Engineers’ (ISPE) click here.
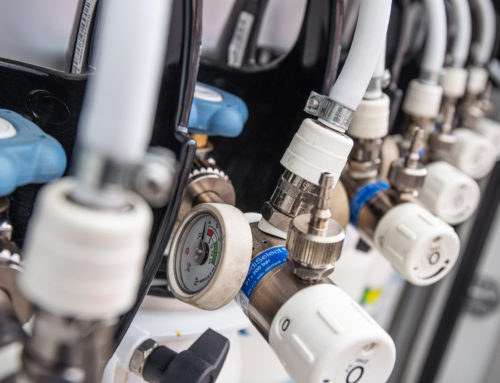
The Microbial Impaction Sampler (Pinocchio Super II) is used by manufacturers to test their compressed air systems. The analysis of subsequent microbial growth adheres to ISO 8573-7 testing methods and can give the technician valuable information about their system. Reports can include total plate counts of colony forming units (CFU) and the classification of bacterial cell wall morphologies into two large groups: Gram-positive or Gram-negative.
Often, when collecting your compressed air sample, contamination and damage can be avoided by following straight forward sampling procedures. When these procedures are not followed, the necessity for retesting and additional financial costs can result.
How to Avoid Sample Contamination & Prevent Instrument Damage:
1. PPE: You will need a clean lab coat, gloves, head/facial hair cover, and 70% alcohol (ethanol or isopropanol) to prevent cross contaminating your sample.
2. To avoid contamination of your agar plates, only open plates with clean gloves. Only open and close plates when seated inside the Pinocchio collar.
3. Upon receipt of the Microbial Sampler, ice packs need to be promptly placed in the freezer. The contact agar plates are stable at typical refrigeration (4°C) to room temperatures (20-25°C). If facility temperature exceeds the range of plates, use ice packs to keep them in cold.
4. Prior to sampling, the outlet pressure must be determined. Outlet pressure greater than 60 PSI will damage the microsampler. Adjust your pressure to less than 60psi.
Preparing the Micro Sampler for Collection:
1. Sanitize your work table with a disinfectant, 10% bleach, or clean your area with no less than 70% alcohol (isopropanol or ethanol is most common).
2. Refer to the AirCheck notebook, Certificate of Flowmeter Calibration, and Chain of Custody form.
3. Inventory all Microbial Impaction Sampler parts using the provided parts list.
4. Assemble the microsampler following the instructions provided in the AirCheck notebook and refer to the microsampler instructional video available here.
5. Between samples clean inside the horn/funnel head of the microsampler with the Trace Analytics provided sanitizing wipes and allow it to air dry.
ISO 8573-7 requires taking a blind sample before and after a sample is taken at the compressors point-of-use. Blind samples are used to determine if there is contamination caused by a technician’s sampling procedure or from the ambient environment inside the microbial instrument.
The blind sample contact plates must be inserted into the funnel head for 30 seconds. After 30 seconds the plates must be removed, locked, parafilmed/taped and stored back inside the cooler. No air should flow across the contact plates while housed in the funnel head.
Note that no air should flow across the contact plates while they are housed in the funnel head.
Additionally, a sterility blank or negative control is required. This plate is NEVER opened and traces the geographic length of all sampling areas.
Taking the Microbial Sample:
1. Follow the instructions provided in the AirCheck notebook and in the microsampler instructional video available here.
2. Verify that the compressors airflow is less than 60 PSI prior to attaching the sampling circuit.
3. Collect an air sample. The air flow is validated for 10 minutes at a flowrate of 100 LPM (determined using the sampling kit flowmeter) to reach a minimum of 1000 liters of total air volume. If your system cannot reach 100 LPM use the following equation to determine the run time:
(Air Volume, L) / (Flow Rate, LPM) = (Sampling Run Time, MIN)
4. When collecting a sample, only one agar plate should be removed from the cooler at a time—being removed right before a sample is taken. Once the plate is removed, it must be labeled, locked, parafilmed/taped and documented to avoid reporting errors.
5. Remember to clean the collar, contact place housing and gloves between each sampling outlet to prevent contaminating your other samples. Always use PPE.
After Collecting the Microbial Sample:
1. Once the samples are taken, review the Chain of Custody form and confirm all samples are appropriately labeled.
2. Make one copy of the Chain of Custody form (one copy for yourself, and the original form is shipped with the cooler to the microbiology testing laboratory).
3. Repack the microsampler and inventory all parts using the provided packing list.
4. Use the provided shipping labels to mail the testing plates and the microsampler.
To watch the entire Microbial Impaction Sampler instructional video click here.